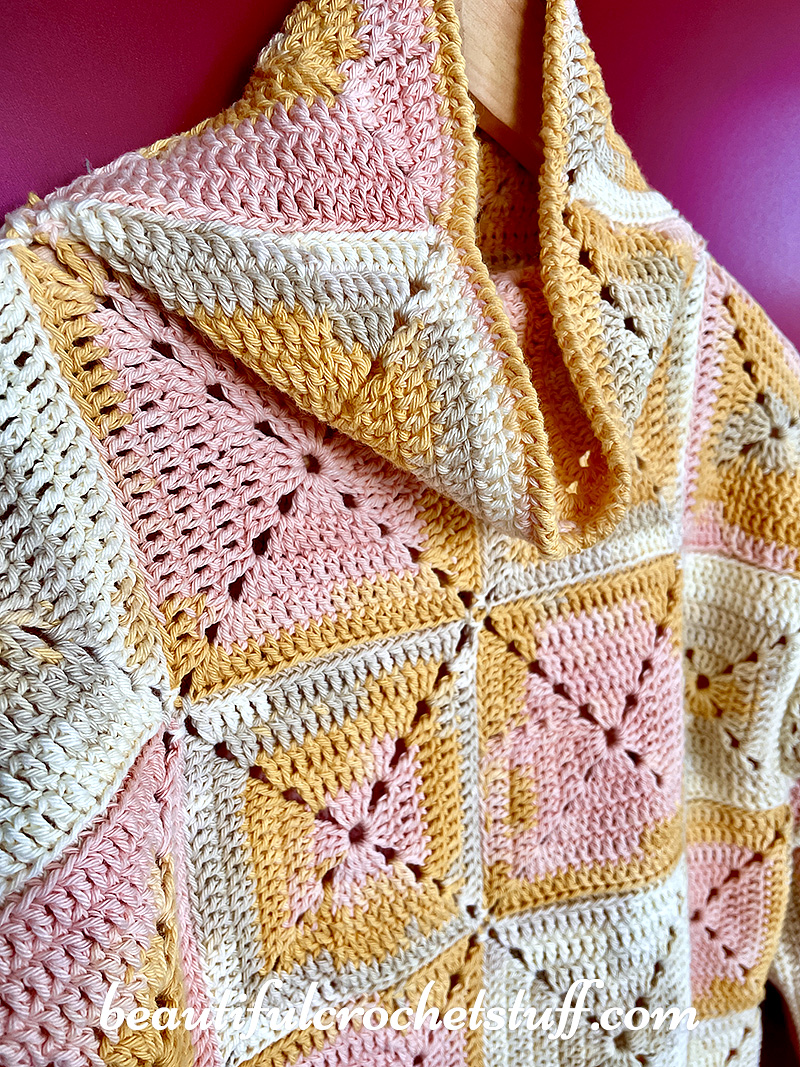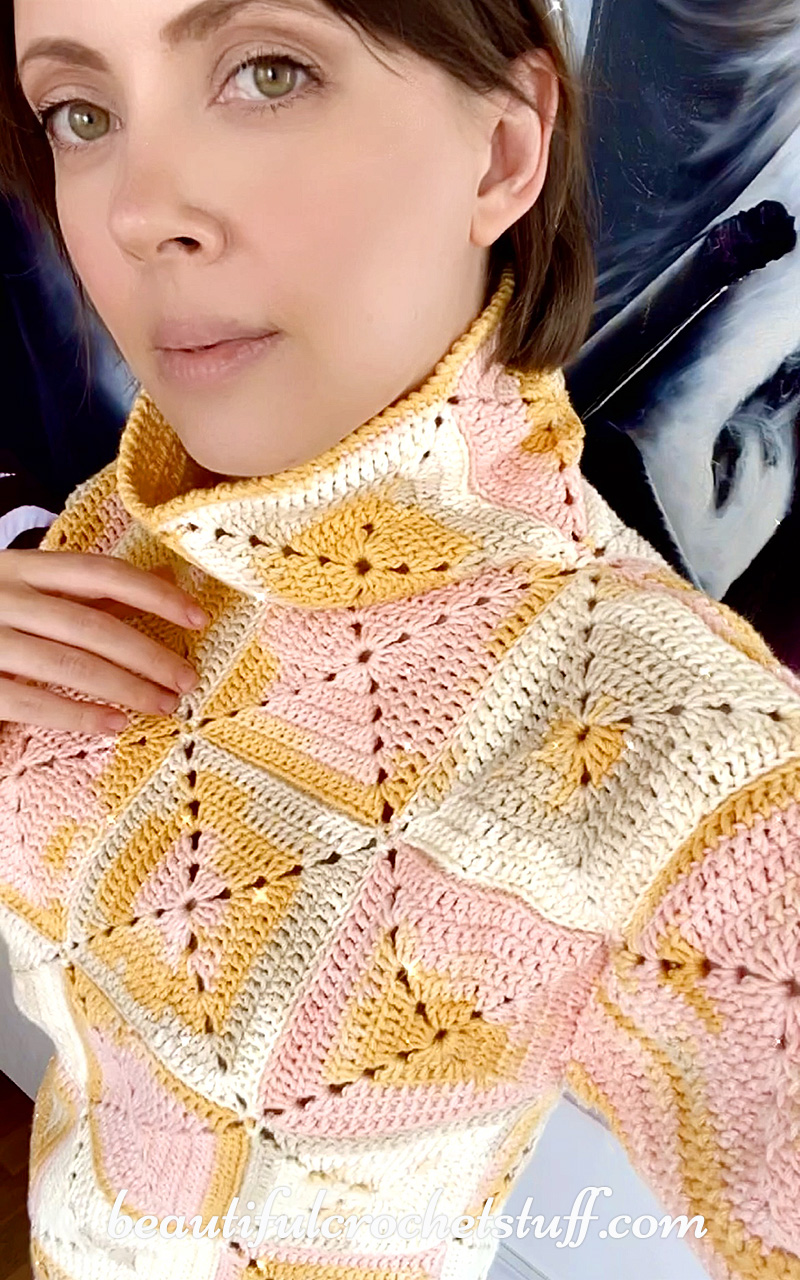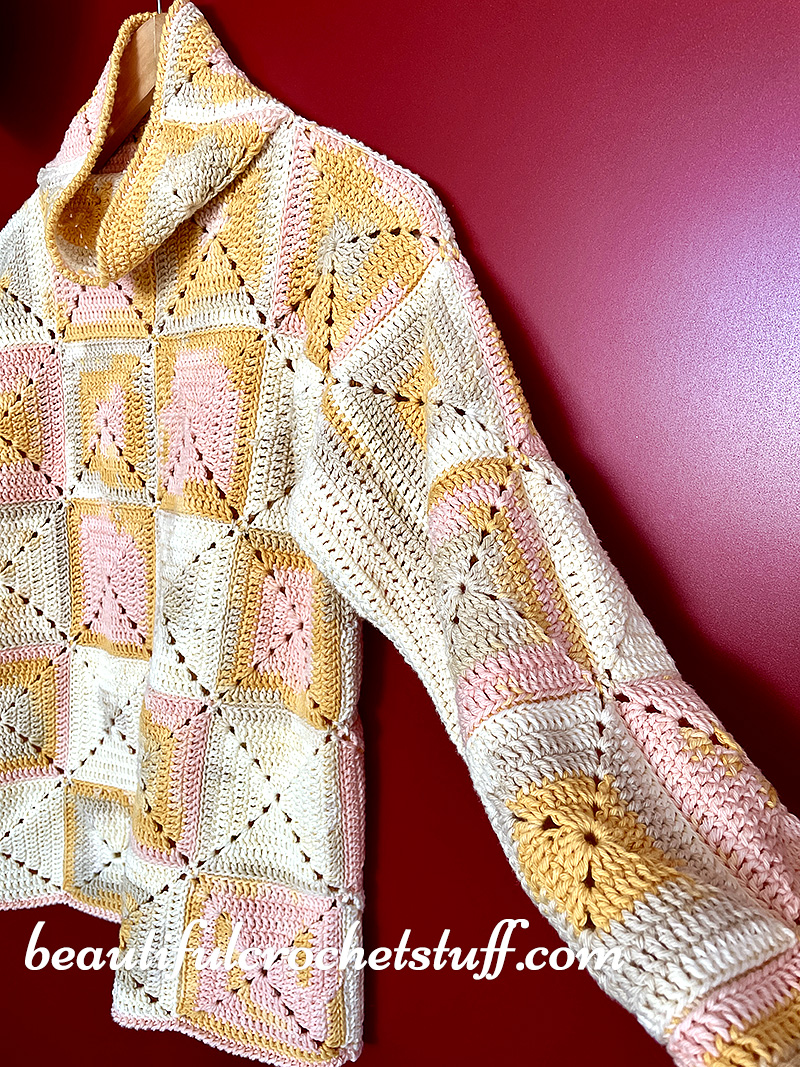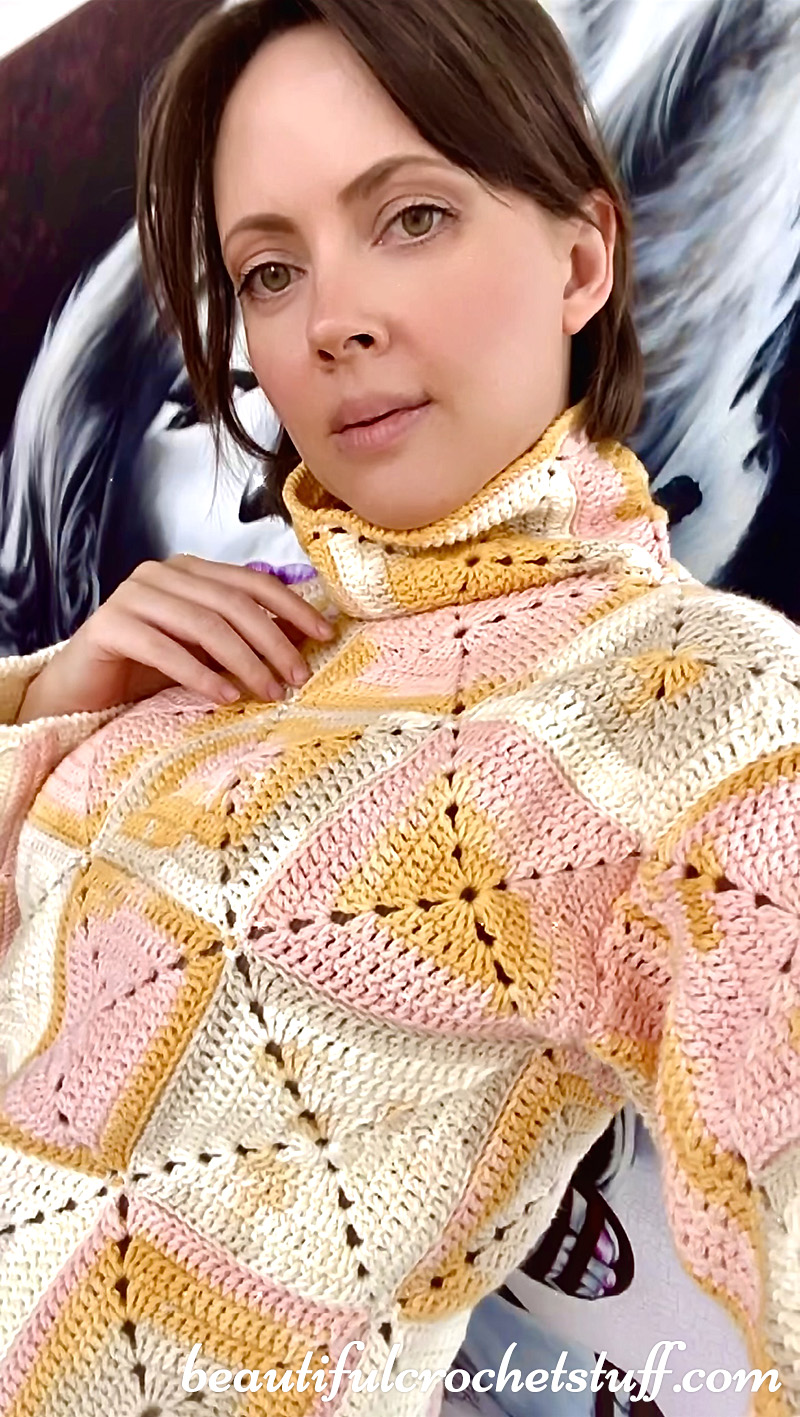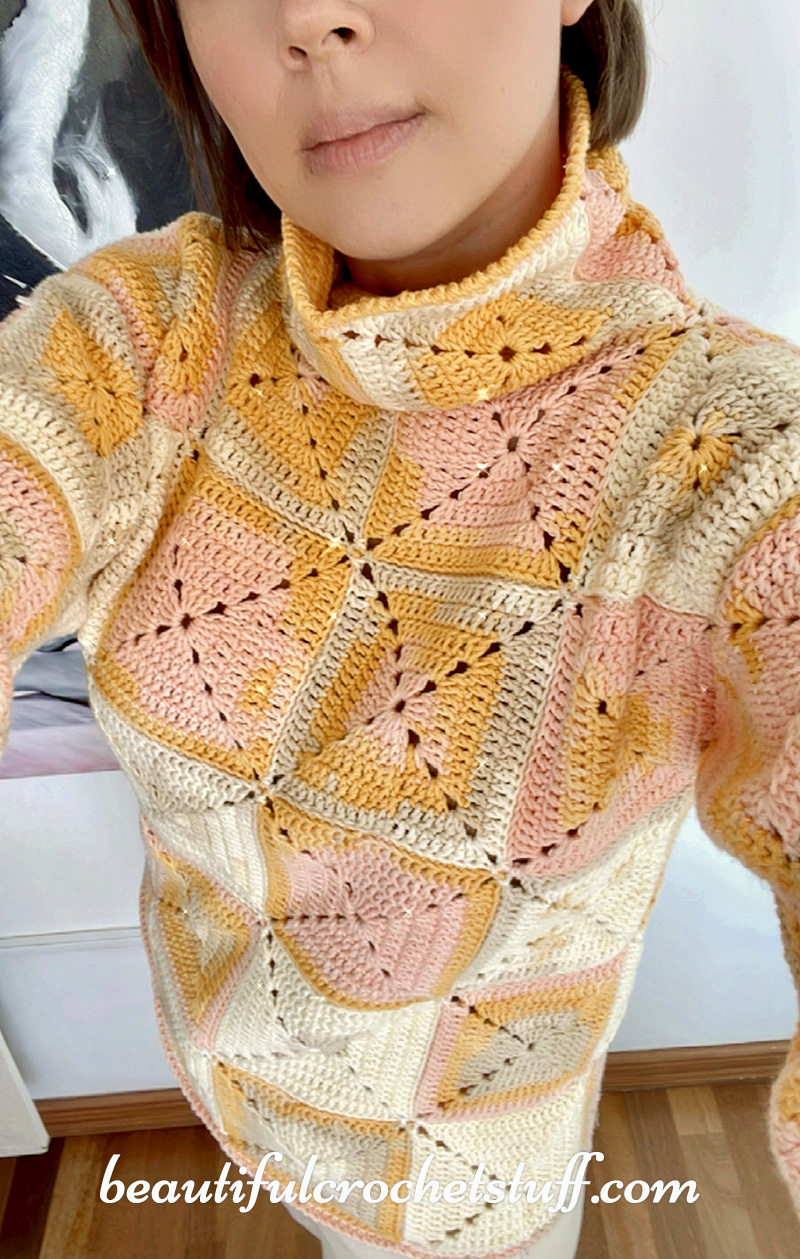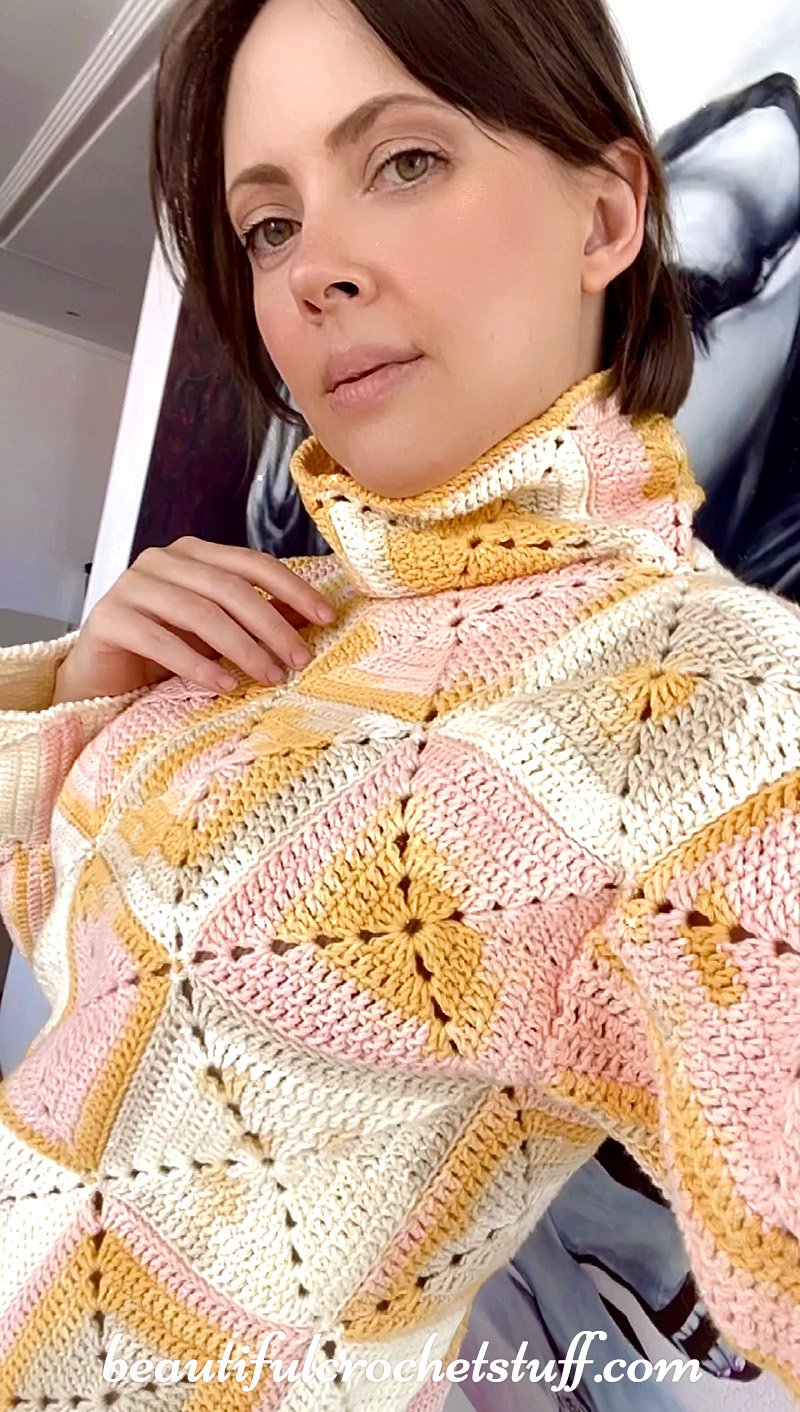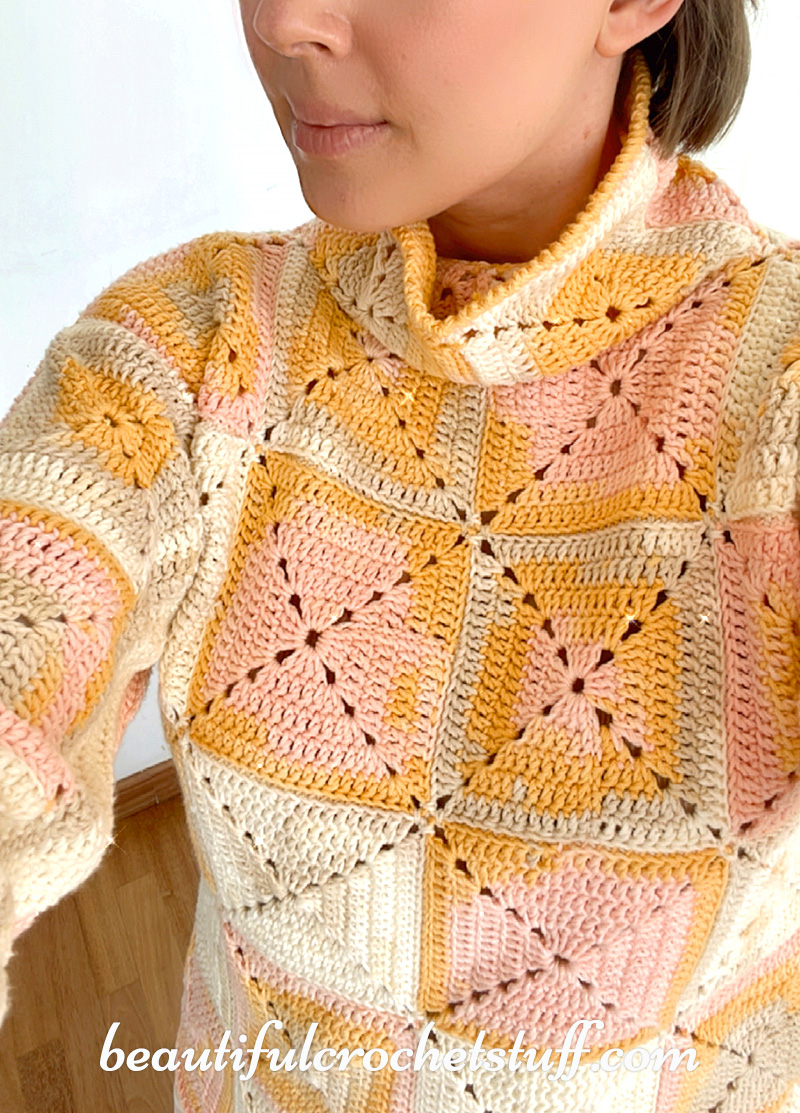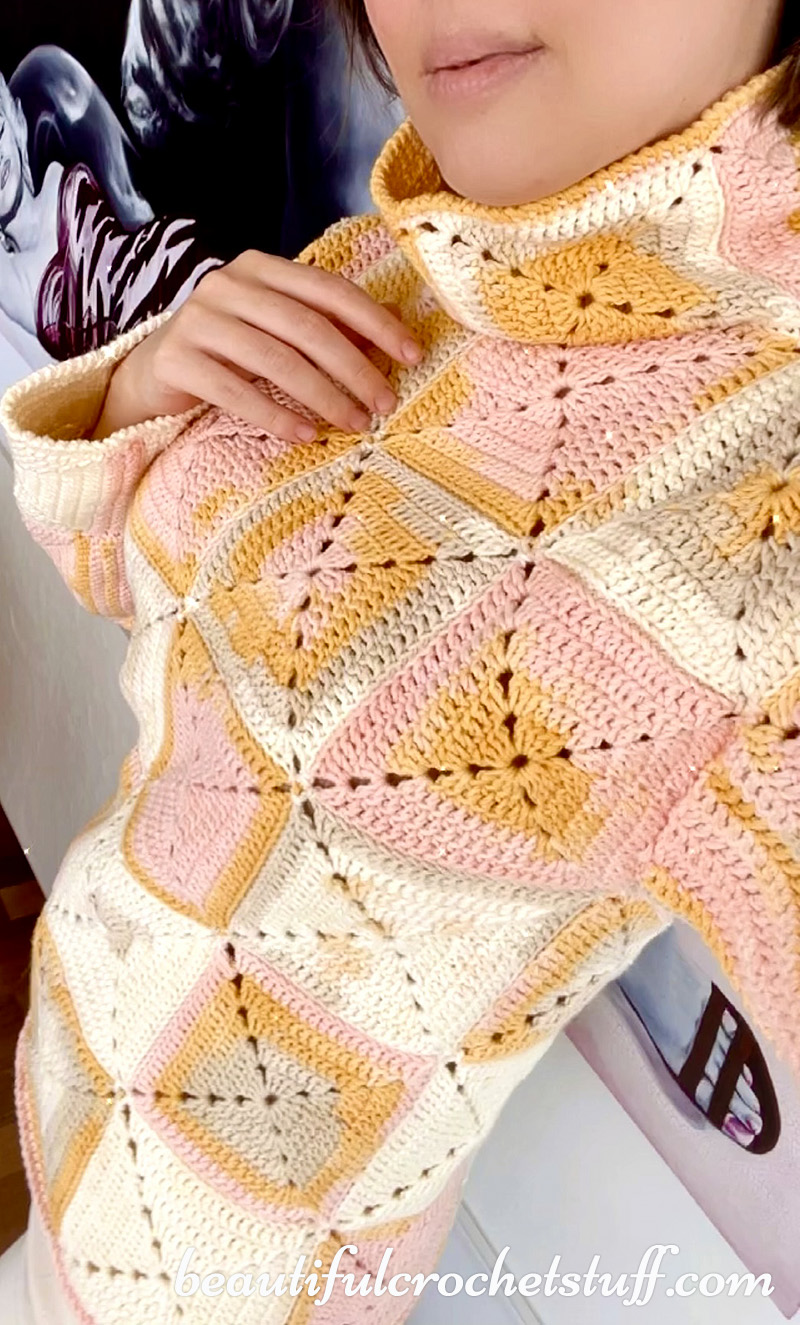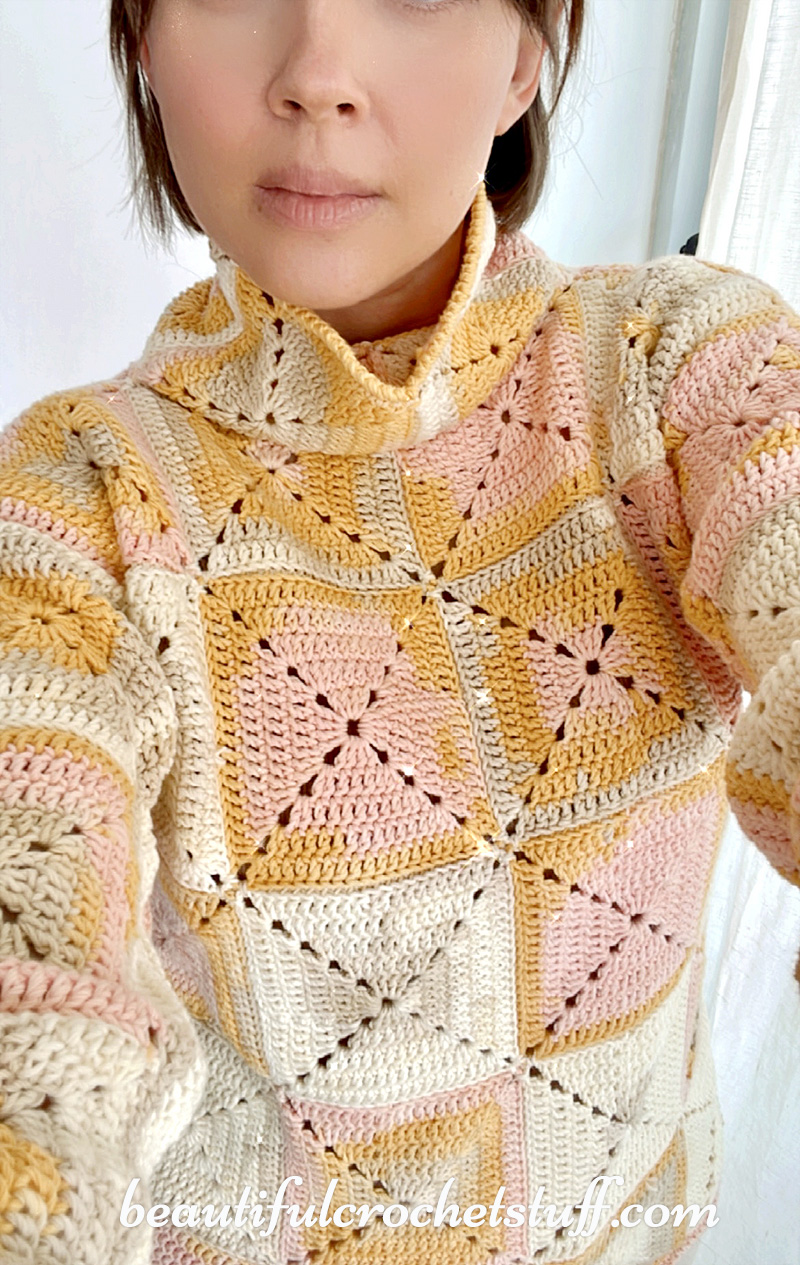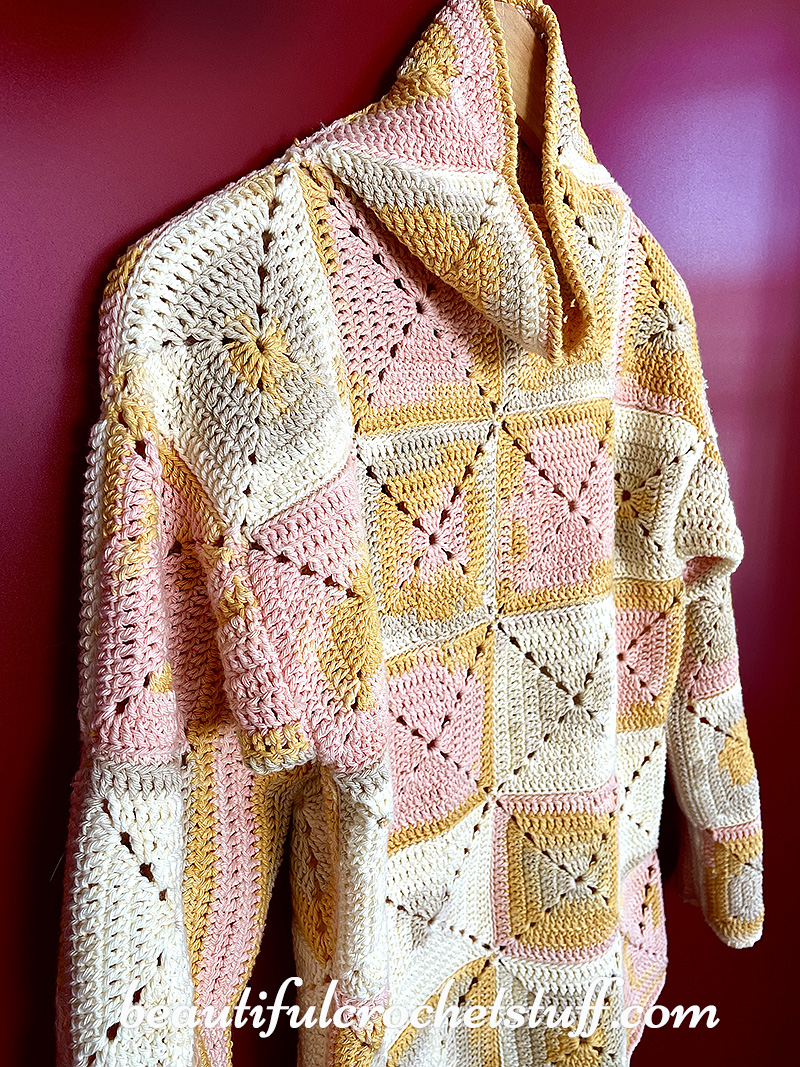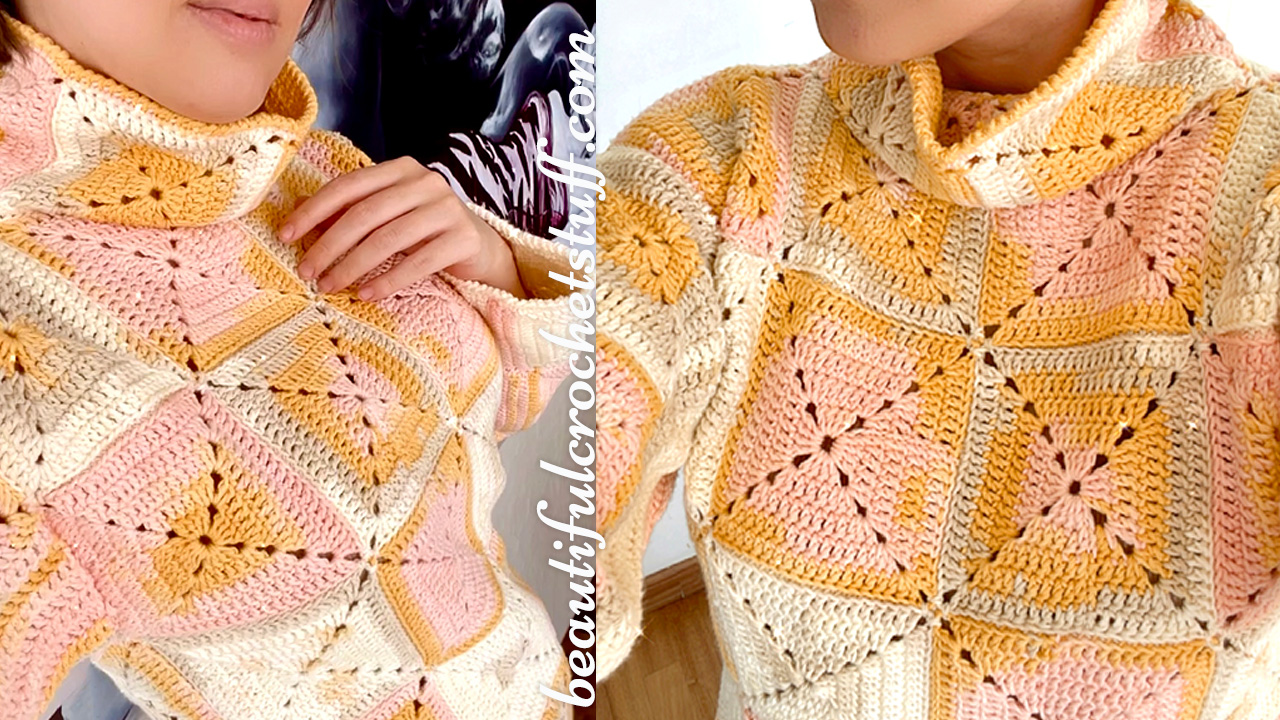
Sometimes, a simple sweater is all you need. Great for beginners, this turtleneck granny square sweater is crocheted using Spanish local premium cotton yarn but you can use any yarn you have. Granny squares create a unique graphic look. The color combination makes the pattern perfect for autumn.
PLEASE DON’T FORGET TO SUBSCRIBE TO MY YOUTUBE CHANNEL: HERE
AND FOLLOW MY INSTAGRAM: HERE
YOU CAN FIND A PDF PATTERN: HERE
MATERIALS:
Yarn: Algodon Premium Stampa, 100% Cotton, 100 gr/220 m – 700 grams (7 skeins), you can use any yarn you have
Crochet Hook: 3,5 mm
Size: S-M size, length – 58 cm / 22 3/4 in, width – 48 cm / 19 in, sleeves – 48 cm / 19 in, square – 12×12 cm / 4 3/4x 4 3/4 in, you can easily adjust the pattern to any size, please read more about below
Stitches Used: ch – chain, sl st – slip stitch, sc – single crochet, hdc – half double crochet, dc – double crochet, crab stitch
SQUARE PATTERN:
Measurement:
The Shoulder to Shoulder measurement is taken ON THE BACK from one end of the shoulder to the other. Do not pull a straight line from these two points, follow the natural curve of the body. This measurement should be close to the length from a suit jacket’s shoulder seam to the other.
Crochet a 5 rounds square, increase your square by adding extra rounds until you get 4 squares in the front and the back parts.
If you are curvy, it looks great too! Just measure the fullest part of your body, divide the measurement by 2 and crochet 4 squares according to your measurement.
S-M size crochet 5 rounds squares (12×12 cm), L-XL – 6 rounds squares (13×13 cm), XXL- XXXL (14×14 cm) – 7 rounds squares
Please watch a video tutorial before you start.
ch-5, join with sl st to the 1st ch
Round 1: ch-1, pull the loop to the height of dc (don’t count as a stitch) <— this step helps you to avoid holes between the first and the last dc sts, 4 dc into the circle, (ch-2, 4 dc into the circle, ch-2) rep twice, join with sl st to the 1st pulled st
Round 2: ch-1, pull the loop to the height of dc, dc in next dc BUT in the POST of dc stitch (only the 1st dc) <—this step helps to get rid of an unwanted seam, dc in next 3 dc, 2 dc in next ch-2 space, ch-2, 2 dc in same space, * dc in next 4 dc, 2 dc in next ch-2 space, ch-2, 2 dc in same space ** rep from * to ** twice, join with sl st to the 1st pulled st
Round 3: ch-1, pull the loop to the height of dc, dc in next dc BUT in the POST of dc stitch (only the 1st dc), dc in next 5 dc, 2 dc in next ch-2 space, ch-2, 2 dc in same space, * dc in next 8 dc, 2 dc in next ch-2 space, ch-2, 2 dc in same space ** rep from * to ** twice, dc in the last 2 dc, join with sl st to the 1st pulled st
Round 4: ch-1, pull the loop to the height of dc, dc in next dc BUT in the POST of dc stitch (only the 1st dc), dc in next 7 dc, 2 dc in next ch-2 space, ch-2, 2 dc in same space, * dc in next 12 dc, 2 dc in next ch-2 space, ch-2, 2 dc in same space ** rep from * to ** twice, dc in the last 4 dc, join with sl st to the 1st pulled st
Round 5: ch-1, pull the loop to the height of dc, dc in next dc BUT in the POST of dc stitch (only the 1st dc), dc in next 9 dc, 2 dc in next ch-2 space, ch-2, 2 dc in same space, * dc in next 16 dc, 2 dc in next ch-2 space, ch-2, 2 dc in same space ** rep from * to ** twice, dc in the last 6 dc, join with sl st to the 1st pulled st
Round 6: ch-1, pull the loop to the height of dc, dc in next dc BUT in the POST of dc stitch (only the 1st dc), dc in next 11 dc, 2 dc in next ch-2 space, ch-2, 2 dc in same space, * dc in next 20 dc, 2 dc in next ch-2 space, ch-2, 2 dc in same space ** rep from * to ** twice, dc in the last 8 dc, join with sl st to the 1st pulled st
Round 7: ch-1, pull the loop to the height of dc, dc in next dc BUT in the POST of dc stitch (only the 1st dc), dc in next 13 dc, 2 dc in next ch-2 space, ch-2, 2 dc in same space, * dc in next 24 dc, 2 dc in next ch-2 space, ch-2, 2 dc in same space ** rep from * to ** twice, dc in the last 10 dc, join with sl st to the 1st pulled st
JOINING
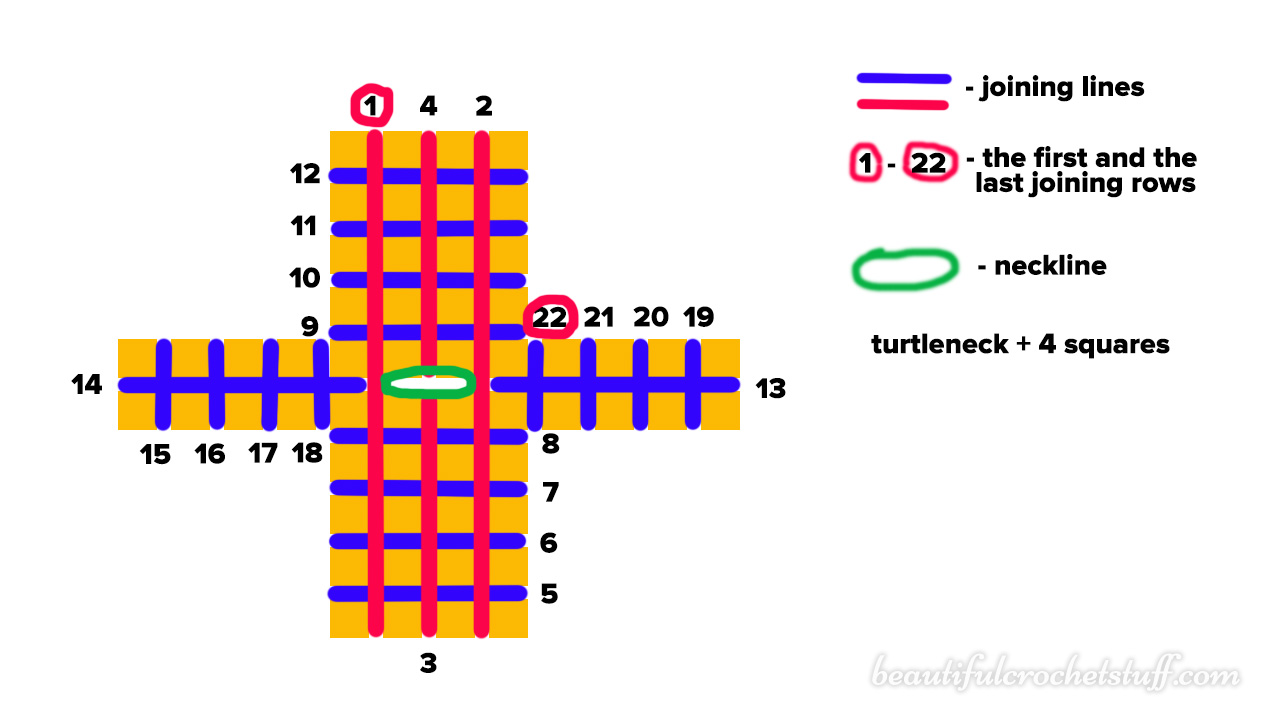
Start joining “vertical lines” this way:
Lay 2 squares together with the right sides facing each other. Join 2 corners with sl st, then sl st through the outside loops only in each stitch (or through the back loops only), sl st through 2 corners, ch-1, sl st through the next 2 squares corners and keep connecting the squares through the back loops only. When you finish with “vertical lines” start joining “horizontal lines”.
SLEEVES (Underarm part)
Row 1: connect the yarn to the 1st corner of the sleeve square (count from the armhole), ch-3, dc in each dc to the next corner, dc in next corner, hdc in next corner of the 2nd square, hdc in each dc to the next corner, hdc in the next corner, sc in next corner of the 3rd square, sc in each dc to the next corner, sc in the next corner
Row 2: ch-1, turn, sc in each sc, hdc in each hdc, dc in each dc
Row 3: ch-3, turn, dc in each dc, hdc in each hdc, sc in each sc, sc across the 4th square
Row 4: ch-1, turn, sc in each sc, hdc in each hdc, dc in each dc
Row 5: ch-3, turn, dc in each dc, hdc in each hdc, sc in each sc only across the 3rd square
Row 6: ch-1, turn, sc in each sc, hdc in each hdc, dc in each dc
Row 7: ch-3, turn, dc in each dc, hdc in each hdc, sc in each sc, sc across the 4th square,
Row 8: ch-1, turn, sc in each sc, hdc in each hdc, dc in each dc, cut the yarn
You get 8 rows of stitches across the 1st 3 squares and 4 rows of sc across the 4th square (wrist square)
Repeat these steps for the opposite side of the sleeve and the 2nd sleeve. Join these parts to the body part’s squares by sl sts, after that make side seams and sleeve seams (join through the back loop only)
TURTLENECK
Connect 2 squares to the front and the back part of the neckline (total 4 squares).
Make a row of sc and crab stitches around the neck, bottom and sleeves.
