
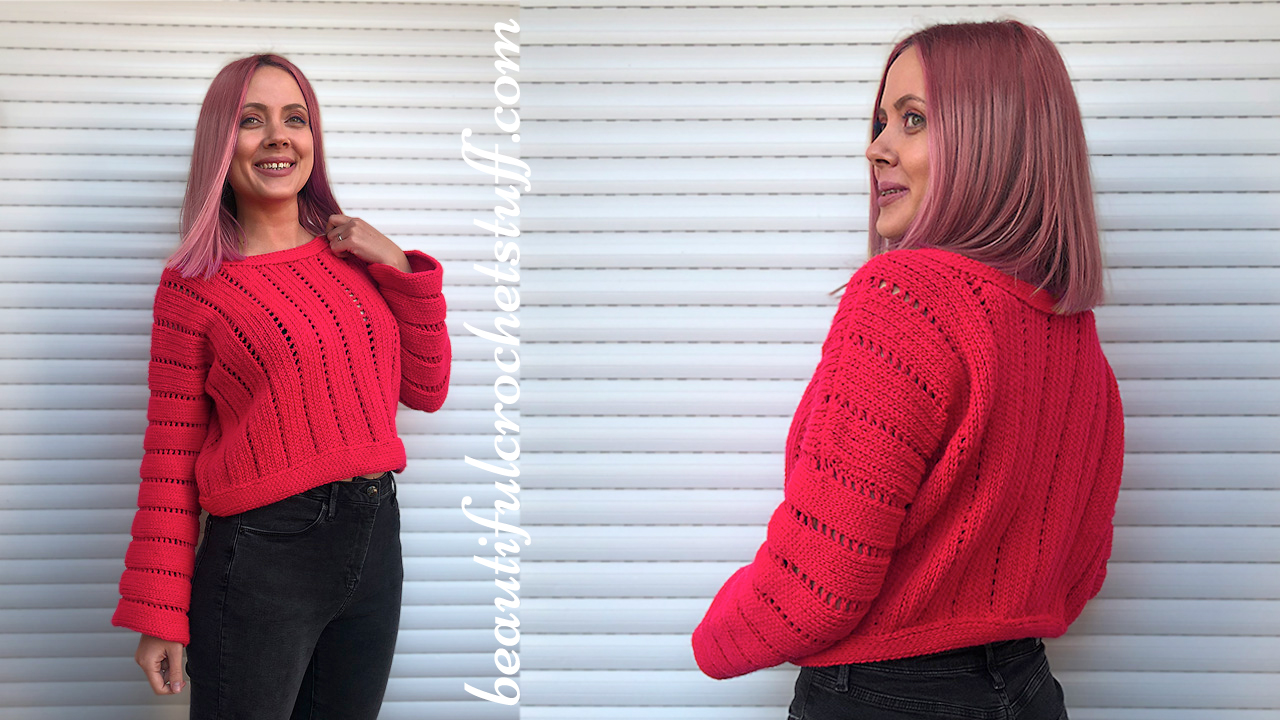
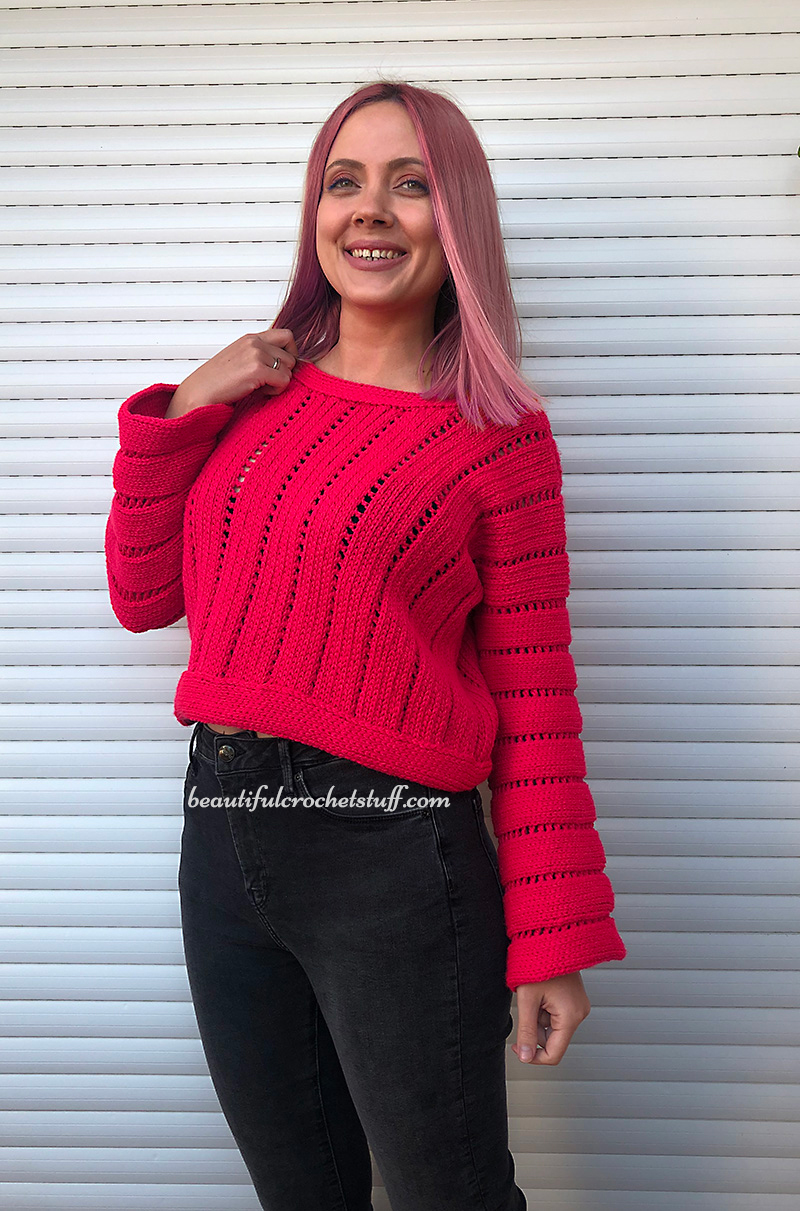
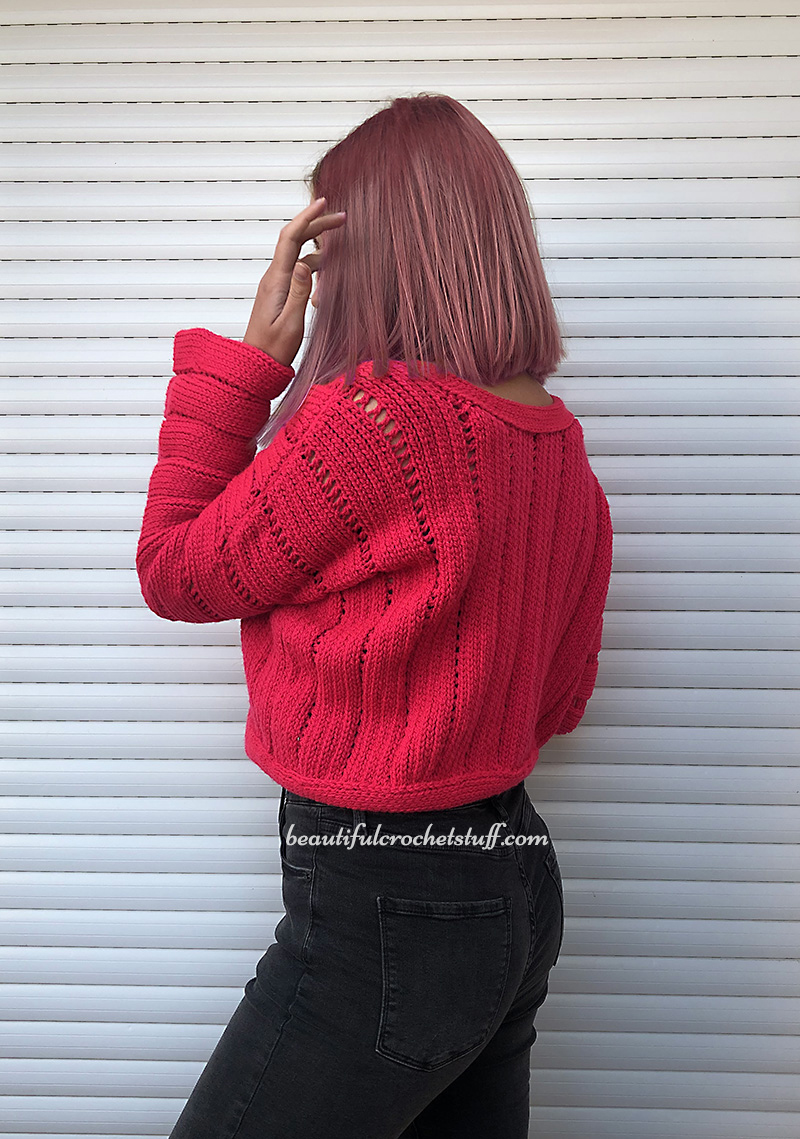
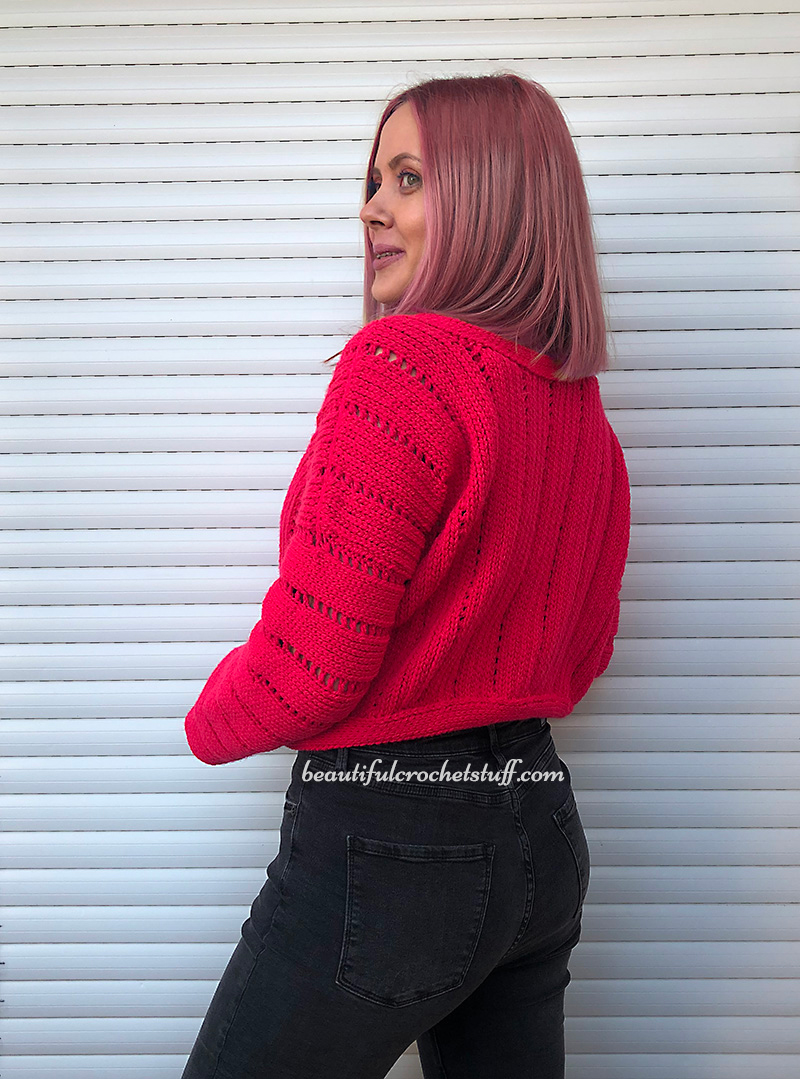
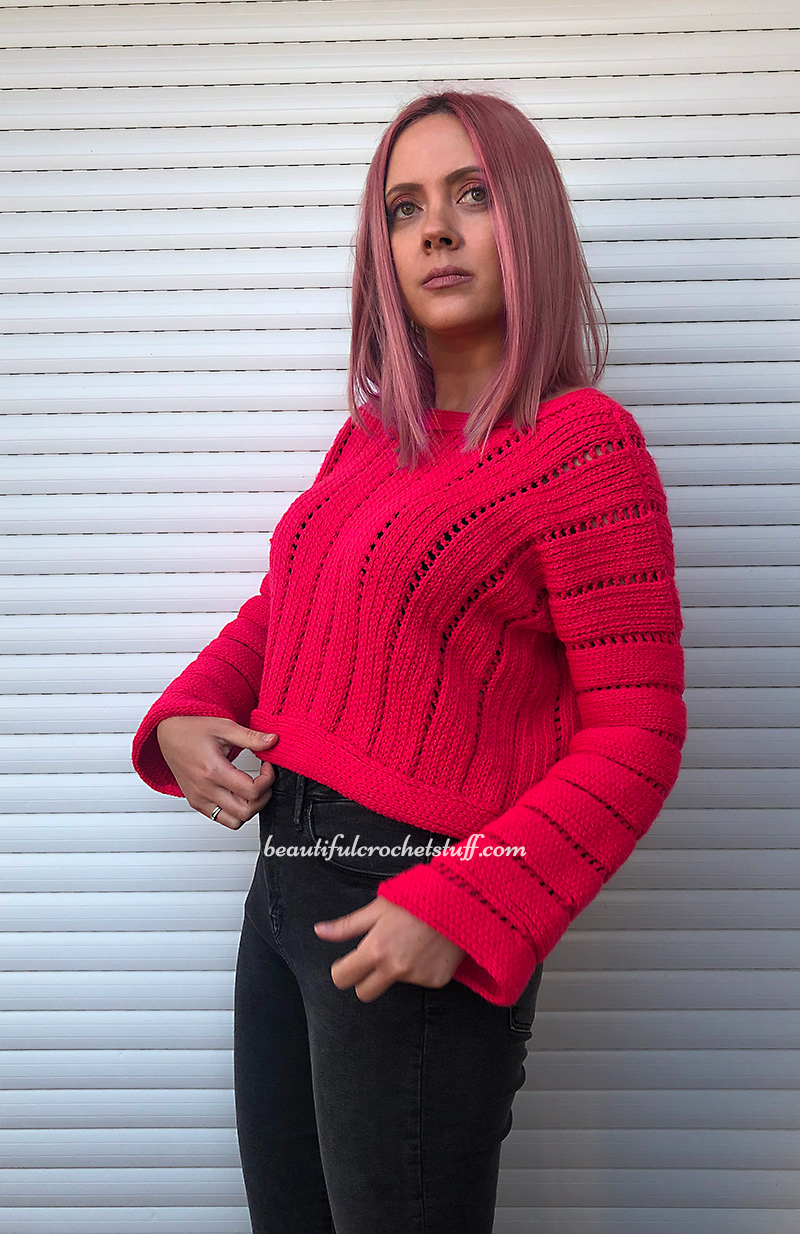
Today we are going to crochet this Stockinette Stitch Sweater. I decided to experiment with acrylic yarn (Caricia classic) while I’m waiting for a package of cotton yarn. I really love cotton because it keeps the shape of the work and gives an excellent texture.
So, I bought Caricia Classic yarn in a nearby store and was pleased with the color and softness. But you can use any acrylic yarn you like. I crocheted a sweater and now I’m working on a hat or beanie, I’m not sure yet))) Well, let’s get started!
MATERIALS:
Yarn 4 skeins: Caricia Classic
Weight: Sport (12 wpi)
Unit weight: 100 grams (3.53 ounces)
Hook size: 5.0 mm (G)
Fibers: Acrylic
Texture: plied, smooth
Size: S-M, width – 56 cm or 22 in, length – 45 cm or 17 1/2 in
SIZES:
crochet an example (15+1 chs = 8 cm)
Divide 40 cm (the desired length of sweater) by 8 cm (example length) = 5 examples
5 examples x 15 chains = 75 chains
Don’t forget about the length of the border – 5 cm
The length of the sweater will be 45 cm
PATTERN:
crochet 75+1 chains
Row 1: yo sl st in the 2nd st from the hook in the back loop only, yo sl st in each st in the back loop only to the end of the row
Row 2: ch-1, turn, yo sl st in each st in the front loop only to the end of the row
Row 3: ch-1, turn, yo sl st in each st in the back loop only to the end of the row
Repeat Rows 2-3 2 times you’ll get “7 braids”
Row 8: ch-3, turn, hdc in the first st in the front loop only, * ch-1, skip next st, hdc in next st in the front loop only **, rep from * to ** to the end of the row
Row 9: ch-1, yo sl st in each st in the back only to the end of the row
Repeat Rows 2-3 3 times you’ll get “7 braids”
Crochet 4 sections (sizes S, M, L) of “braids”. Sizes XS – 3 sections, XL,XXL – 5 sections. It’s the shoulder seam.
The 8th row of the 4th section (the row of holes) don’t crochet to the end. Leave 10 stitches and repeat Row 8 and then repeat Row 2-3 3 times.
The 8th row of the 5th section (the row of holes) don’t crochet to the end. Leave 6 stitches and repeat Row 8 and then repeat Row 2-3 3 times – 6th section It’s the neckline part.
The next section of “braids” (7th section) to make the same length as the previous one (you’ll get 2 the same length section). Sizes XS, S, M, L – 2 sections, XL,XXL – 3 sections. It’s the neckline part.
The 8th row of the 7th section (the row of holes). Repeat Row 8 but in the end of the row make 8 chains. Yo sl st in the 2nd ch from the hook, 1 yo sl st in next 5 chs, skip next ch, yo sl st in each st in the back only to the end of the row, then repeat Row 2-3 3 times – 8th section It’s the neckline part.
The 8th row of the 8th section (the row of holes). Repeat Row 8 but in the end of the row make 12 chains. Yo sl st in the 2nd ch from the hook, 1 yo sl st in next 10 chs, skip next ch, yo sl st in each st in the back only to the end of the row, then repeat Row 2-3 3 times – 9th section.
Crochet 3 sections the same length as the previous one. Sizes XS – 3 sections,S, M, L – 4 sections, XL,XXL – 5 sections. It’s the shoulder seam. (12 sections)
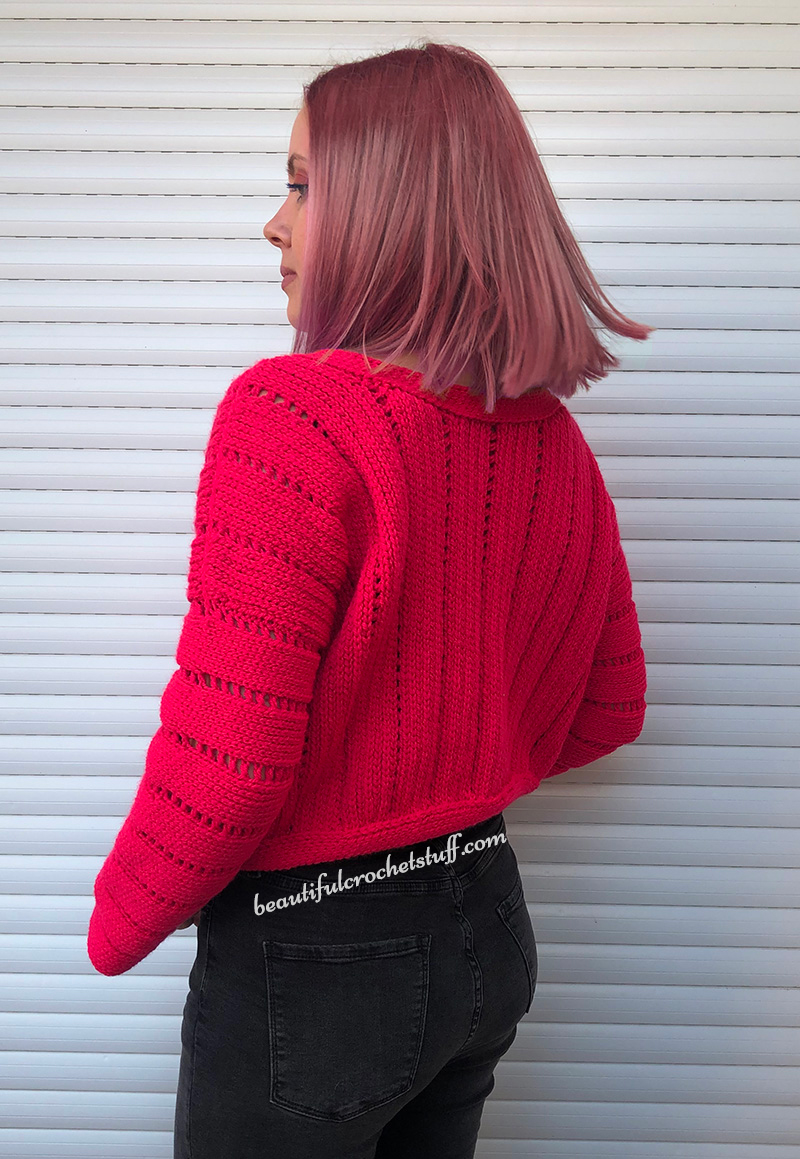
Crochet the 2nd detail in the same way as the first one. Then fold two details right sides together and sew them with sl st (the shoulders seams and sides seams). Leave holes for the sleeves. I left 17,5 cm from the back and front parts.
NECKLINE
Round 1: join the thread to the shoulder seam, ch-1. Crochet yo sl st in each st to “the stair” fold it as you can see on the video (18:14 min) and work yo sl st across “the stair”. Yo sl st across next 2 sections. Fold “the stair” and crochet yo sl st across it to the next one. Repeat these steps for the back part of the sweater. Join with sl st to the first st.
If you are not as lazy as me, you can calculate the increase and decrease stitches of the neckline, but I always choose the easiest way. Those stairs that I got, I will pin on the wrong side of the sweater. Please let me know in the comments what do you think about it :)
Round 2: ch-1, yo sl st in each st to the end of the round.
Round 3-6: yo sl st in each st in the back loop only to the end of the round
Round 7: sl st in each st in the back loop only to the end of the round
SLEEVES
I don’t like the shoulders seams that is why I decided to crochet a row of sl sts across the seam (start from the neckline to the sleeve). Don’t cut the thread at the end of the row.
Round 1: ch-3, skip next st, hdc in next st in the back loop only, * skip next st, ch-1, hdc in next st in the back loop only **, rep from * to ** to the end of the round, join with sl st to the top of ch-2
Round 2-7: yo sl in each st in the back loop only to the end of the round
Repeat Round 1-7 until you reach the desired length (8 sections). сrochet a row of sl st around in the last section.
BOTTOM
Round 1: join the thread to the seam. ch-1, crochet a row of yo sl st around
Round 2-7: yo sl st in each st in the back only to the end of the round
Round 8: a sl st row
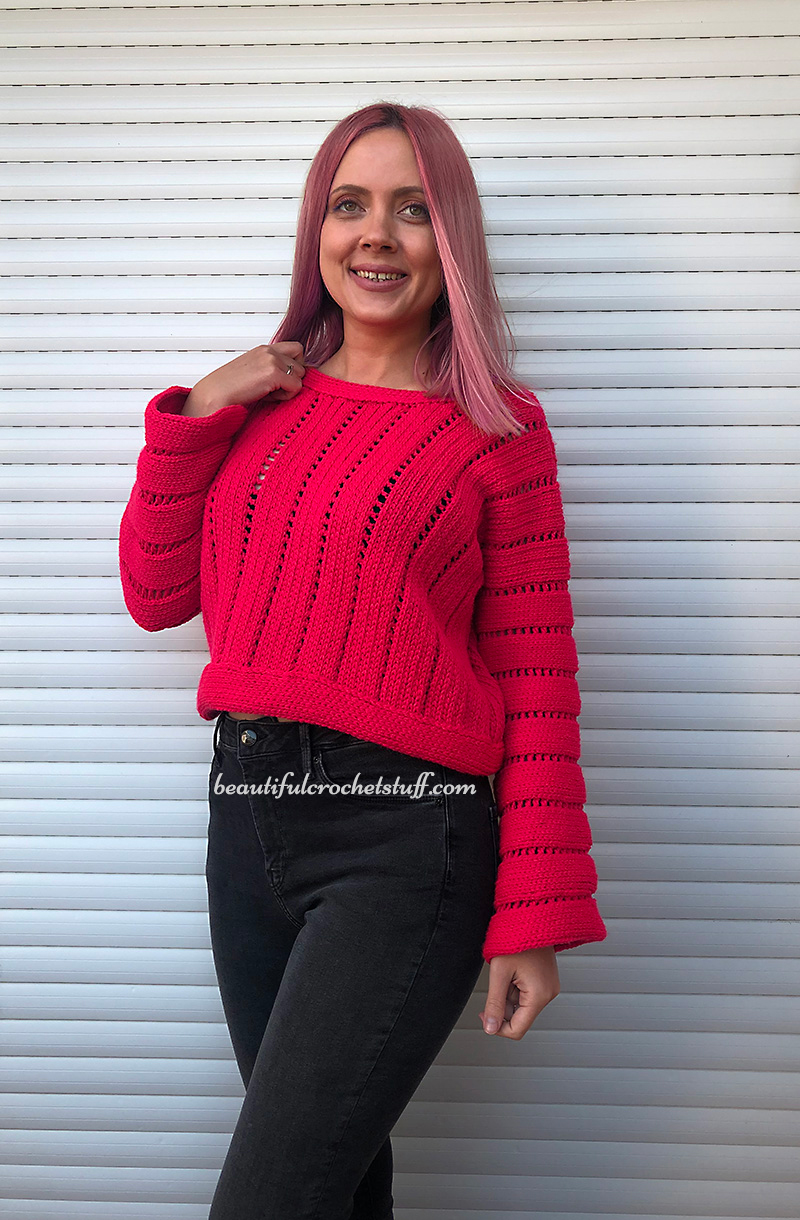
Wow! The sweater is not only very pretty but unusual! A lot of people will jump on this pattern!! Thank you.
Thank you so much! :)